How to get started with Zapier using Vouchery?
1. Add Vouchery account to Zapier
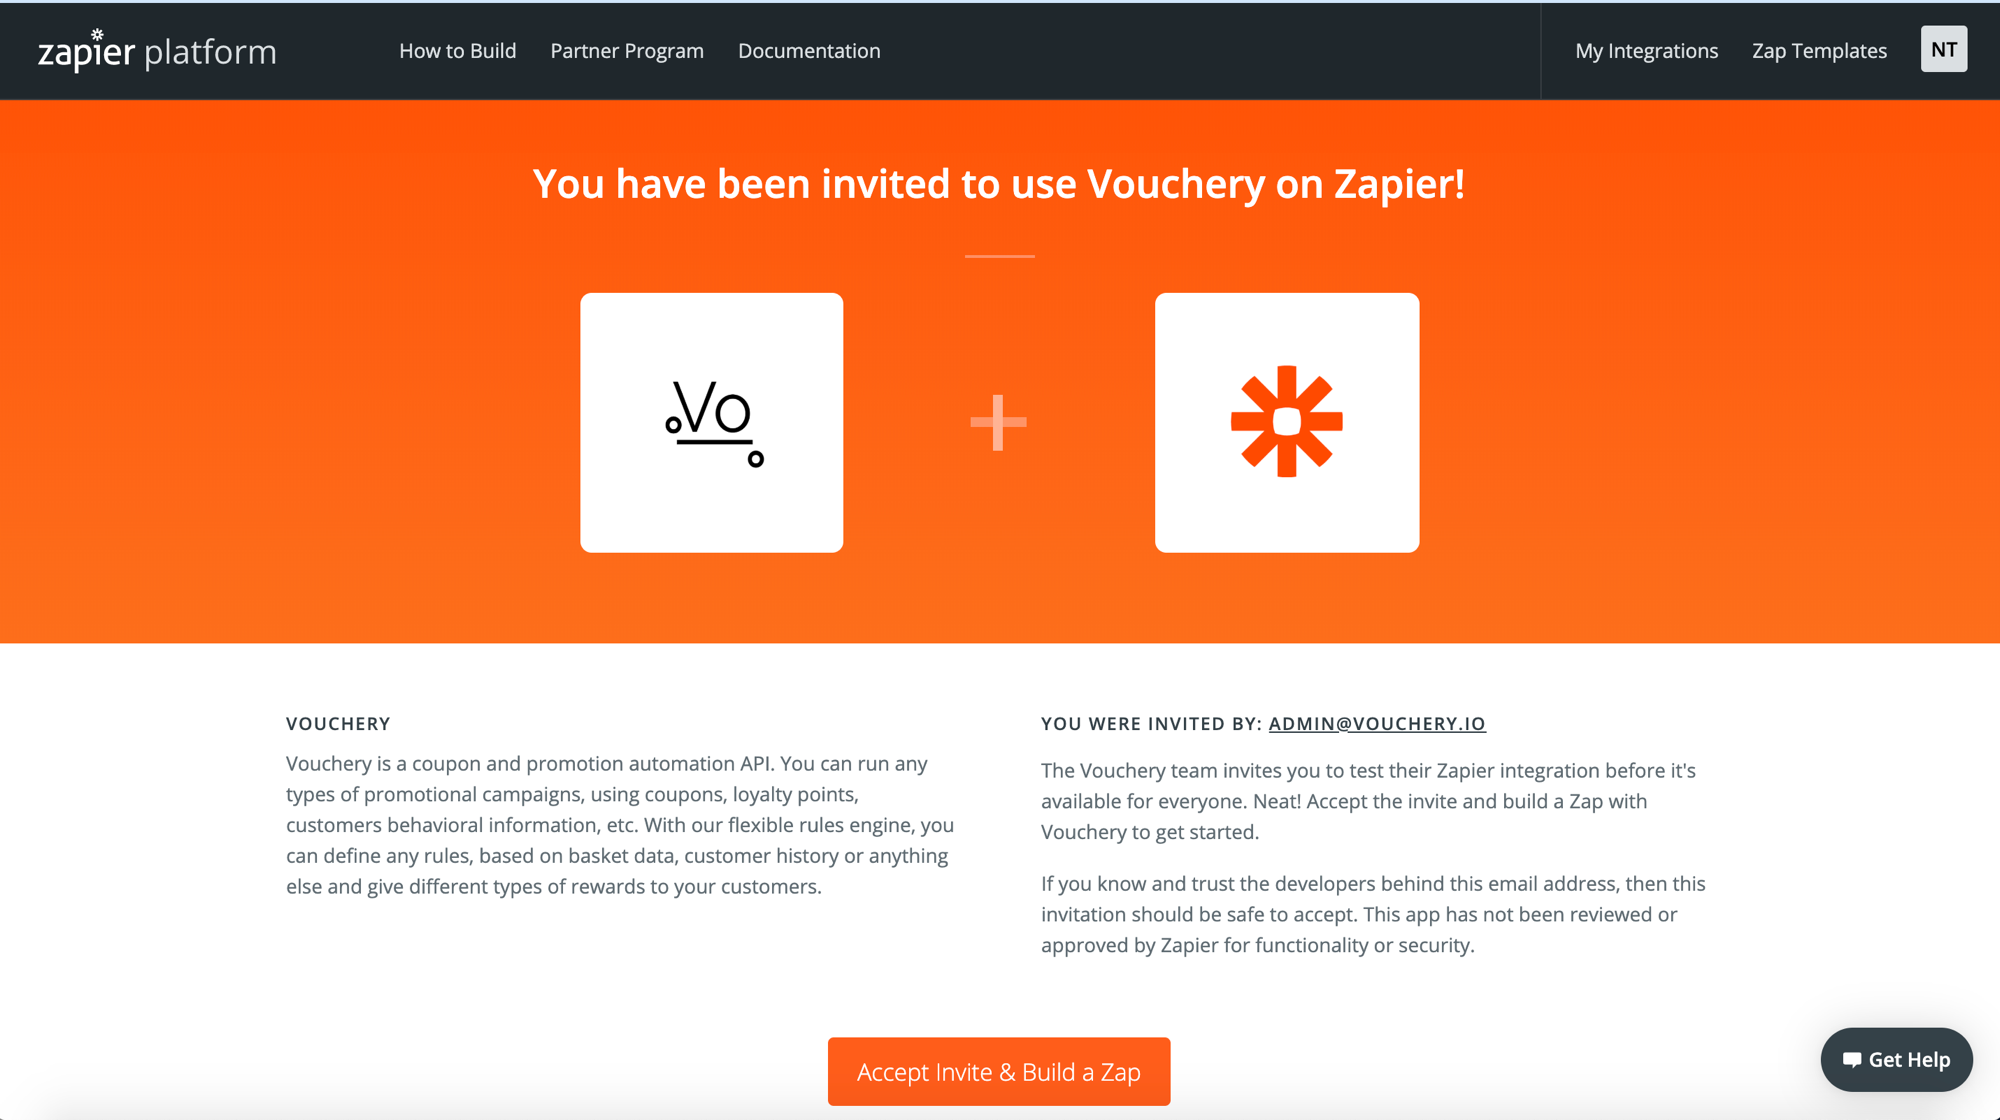
After creating a Zapier account, follow this link to add Vouchery to Zapier.
Click Accept invite & Build a Zap.
2. Create your first Zap using Vouchery
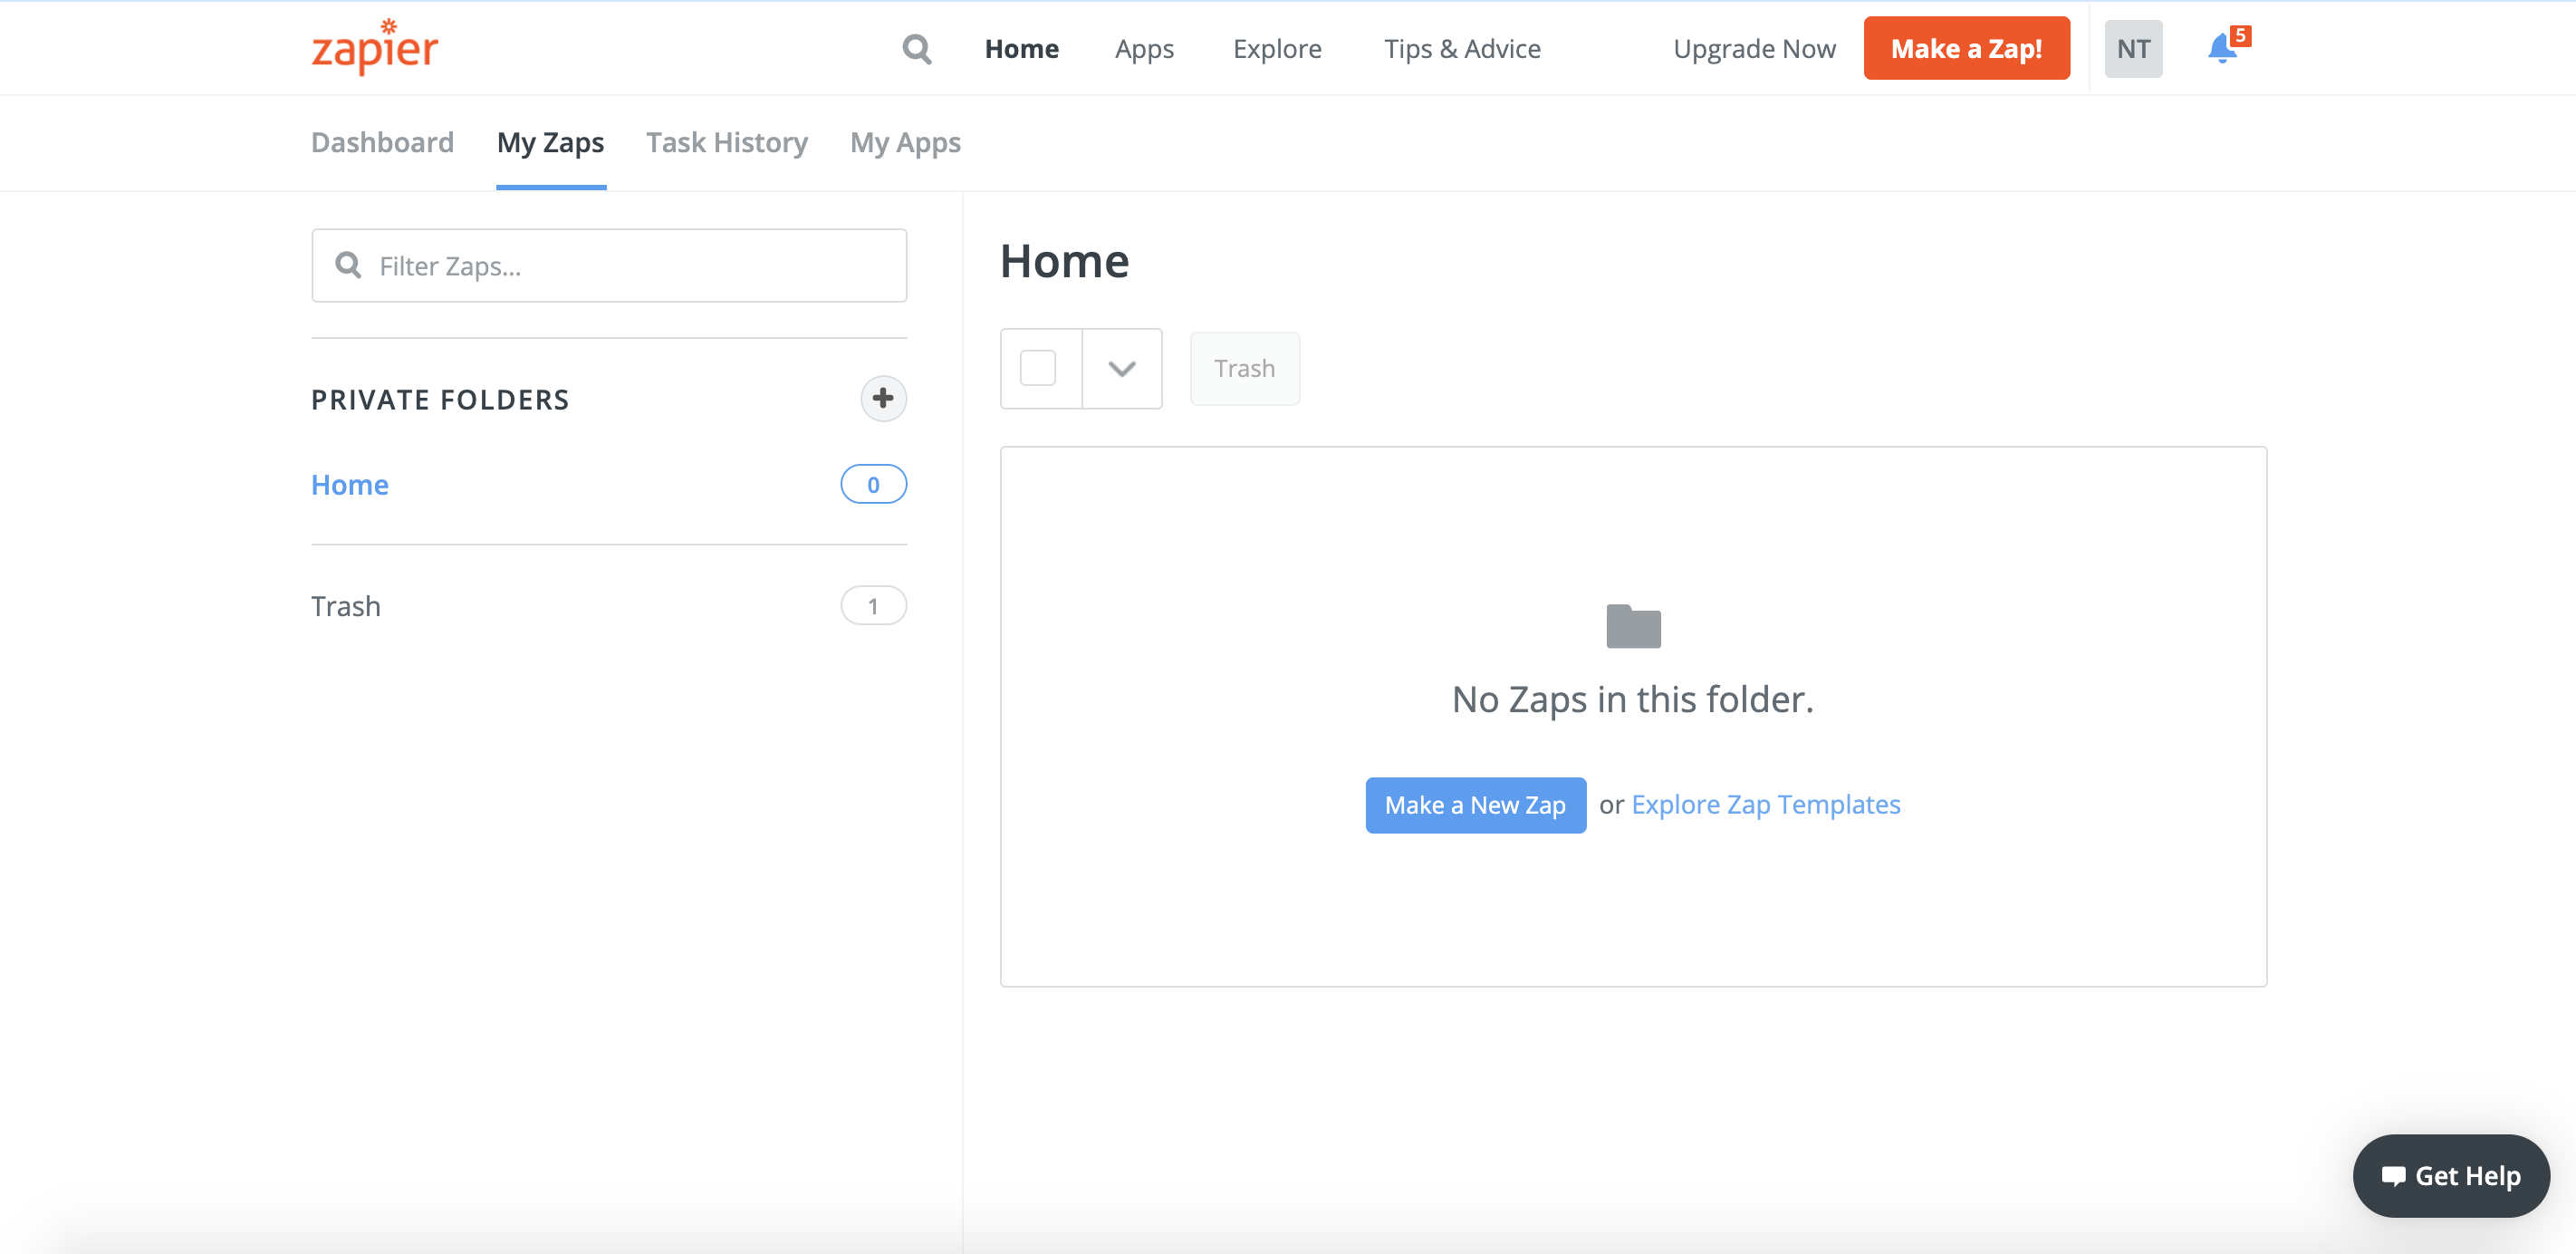
After you first login into your Zapier account, you will see your Home page. There you can create a Zap, by clicking on Make a Zap! button, which is in the top right corner on the page.
Step 1. Set up the trigger
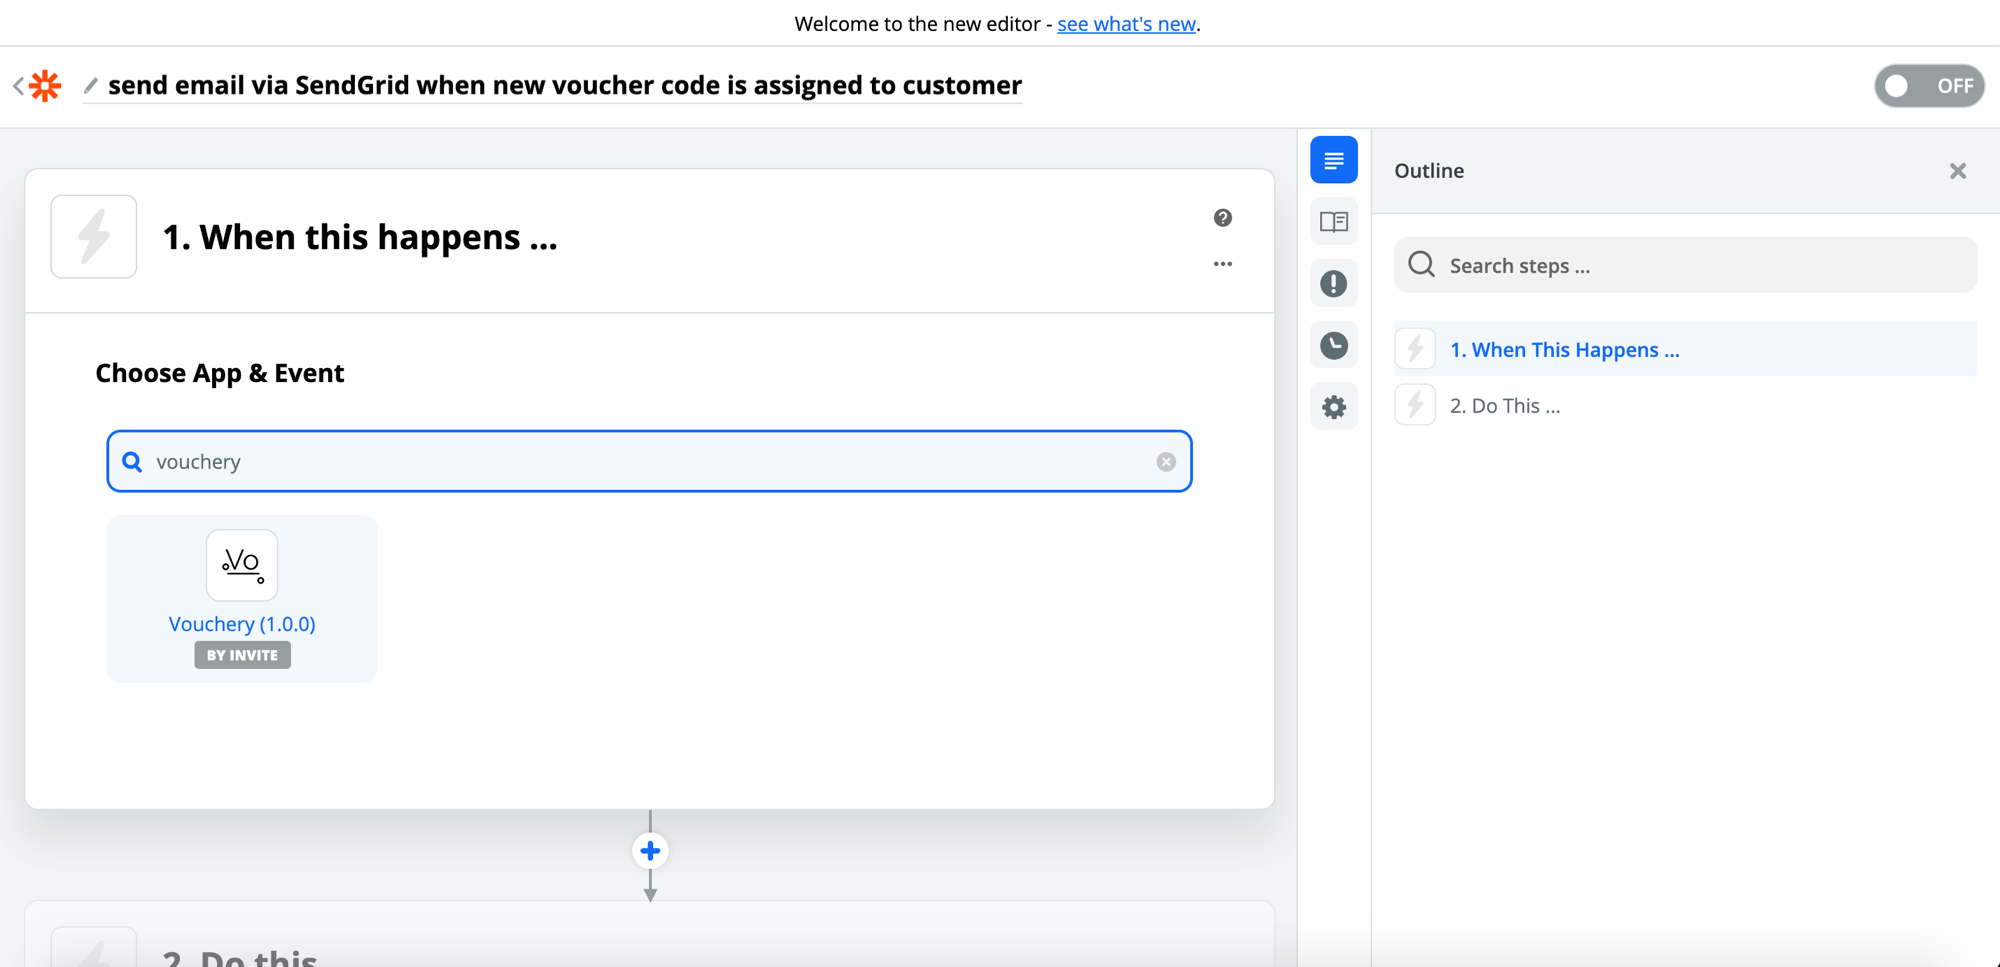
Enter Vouchery in the search box to select as your trigger app, which you want to start the Zap with.
Then edit Name your zap and type a descriptive name. In our example, it will be send email via SendGrid when new voucher code is assigned to customer.
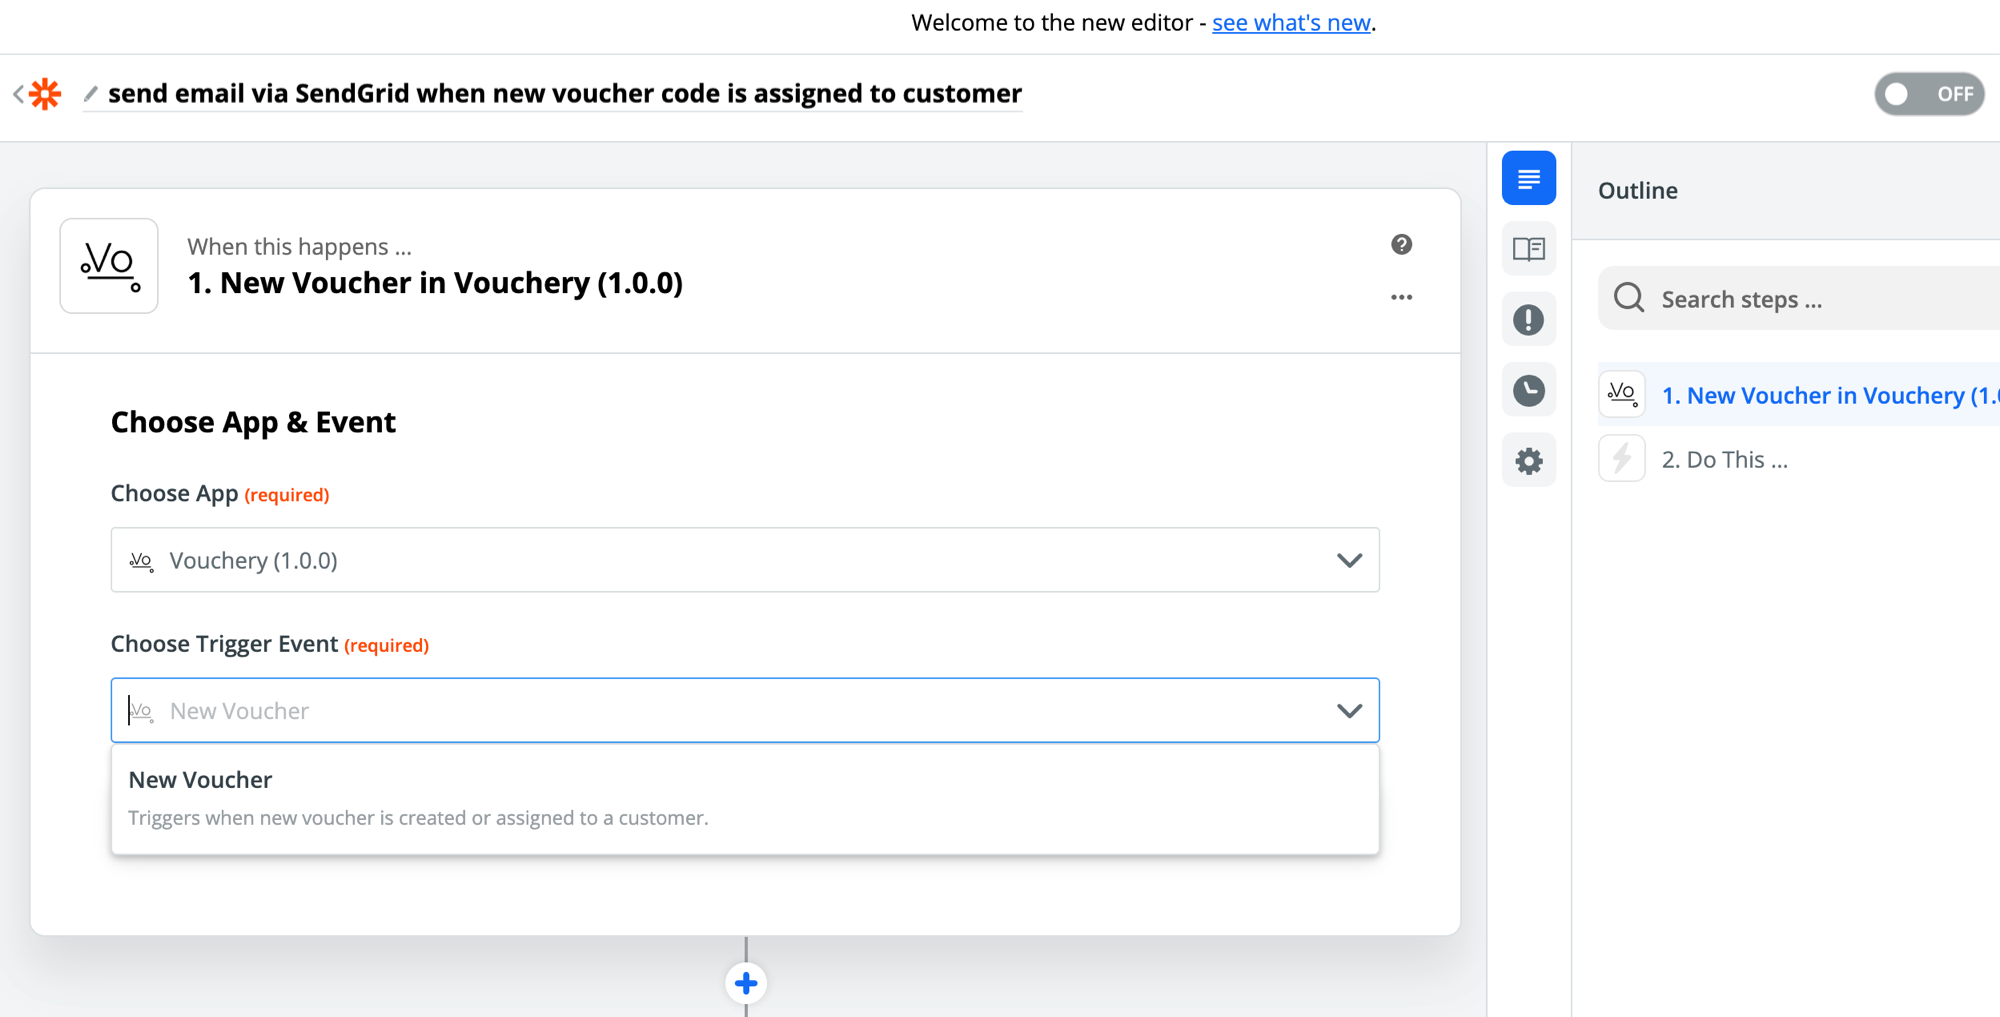
Choose the trigger event from the list of options, then click Continue.
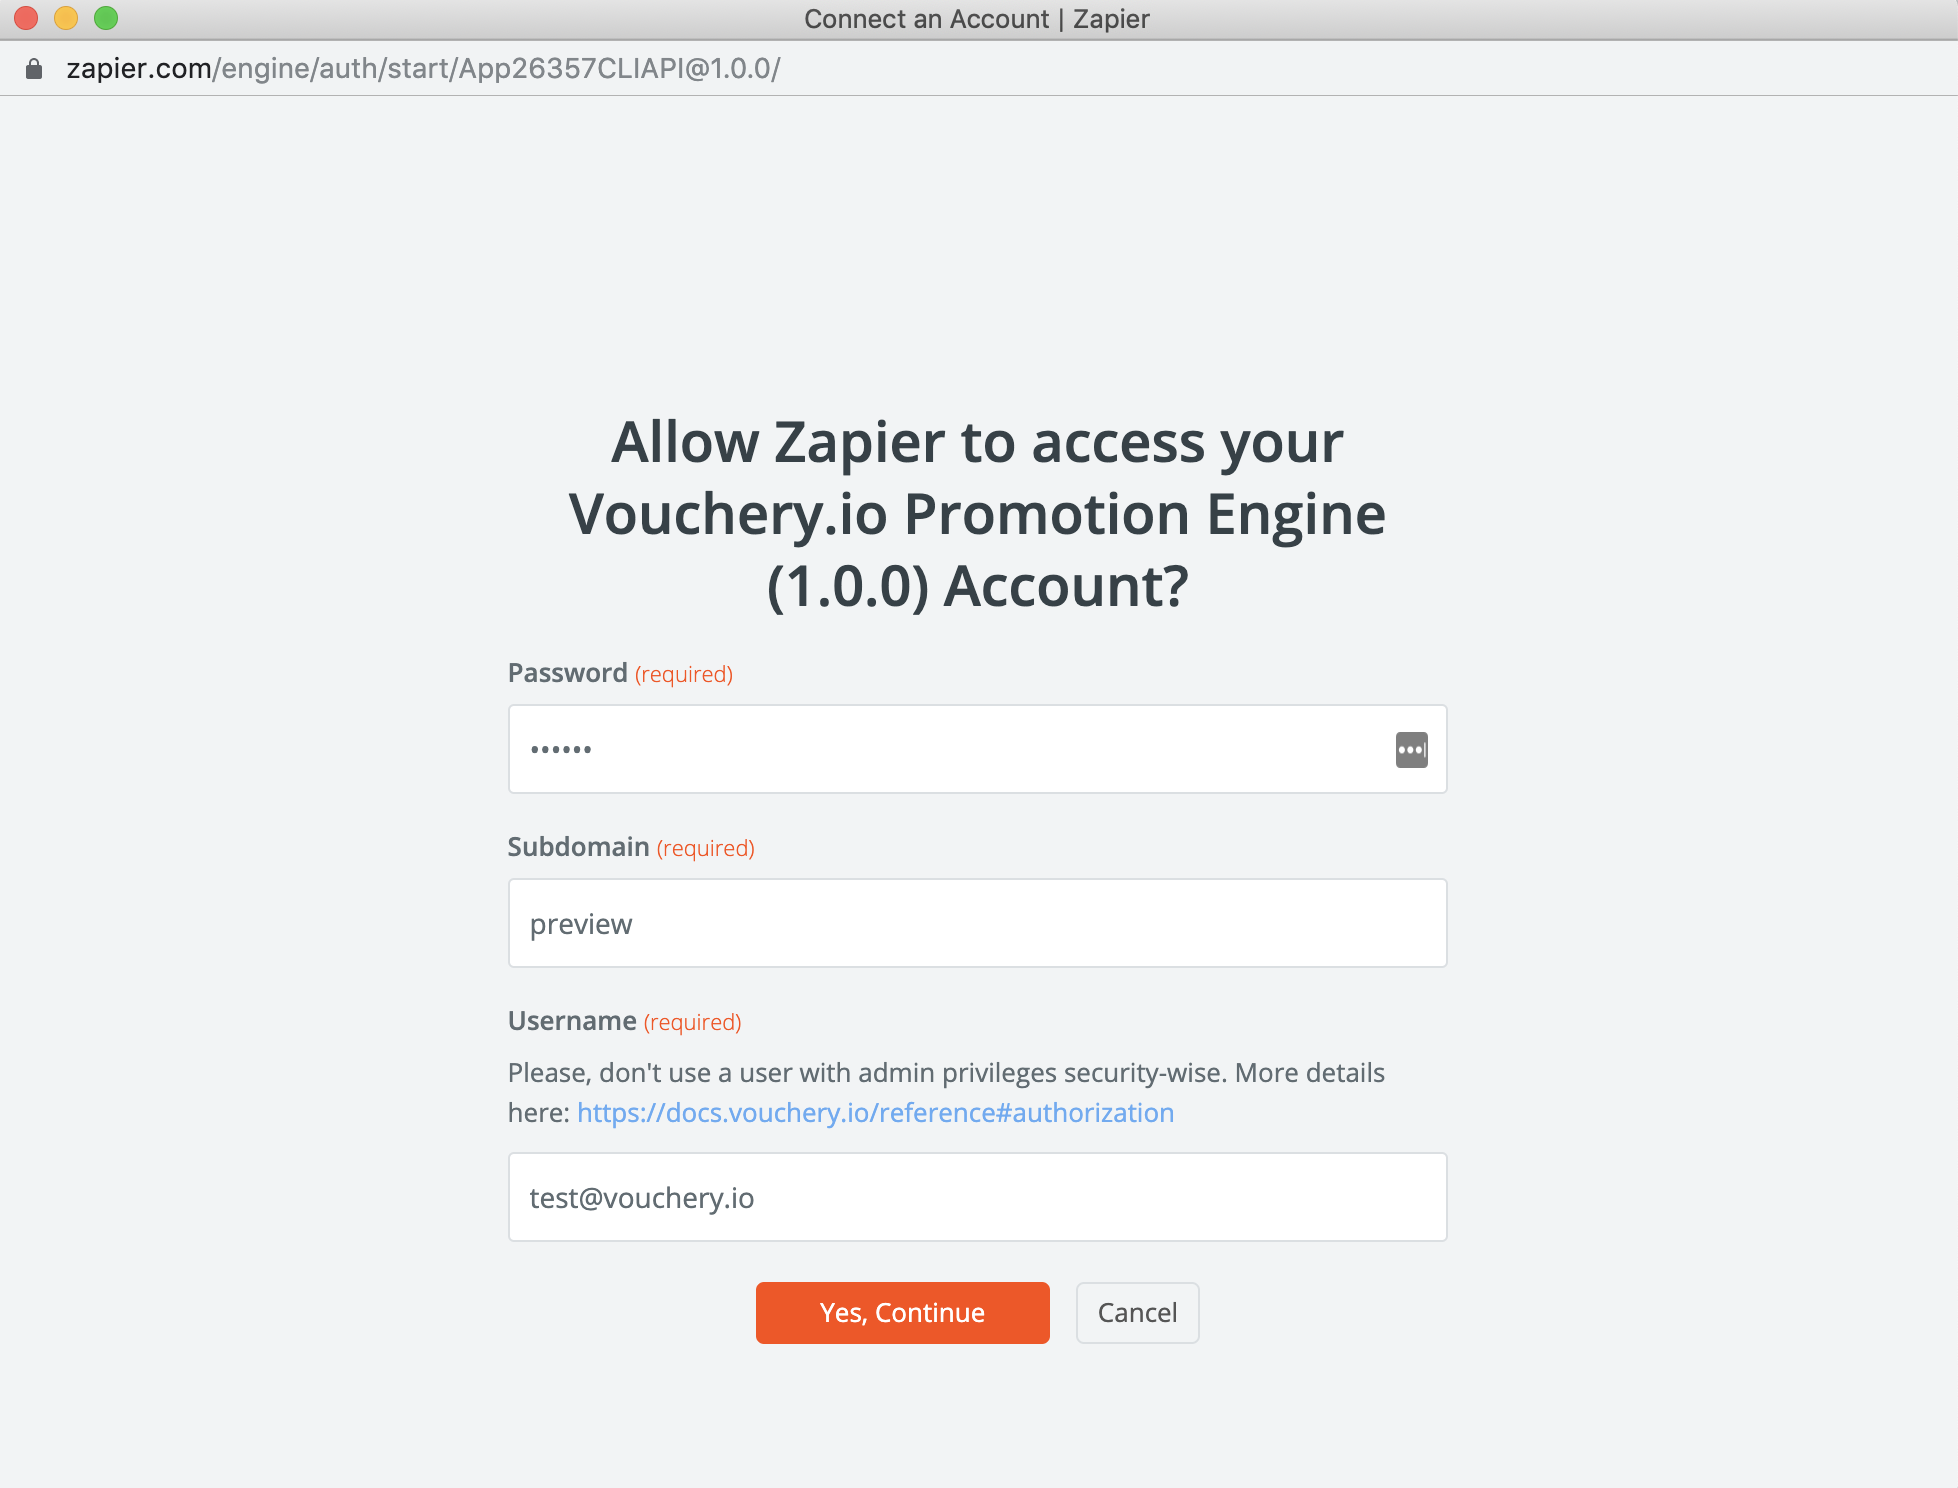
Now you need to connect your Vouchery account to Zapier. Click the Sign in to Vouchery button to add a new account. A pop-up will appear, prompting you to authorize Zapier to connect to the app.
Fill in the required fields and click Yes, Continue.
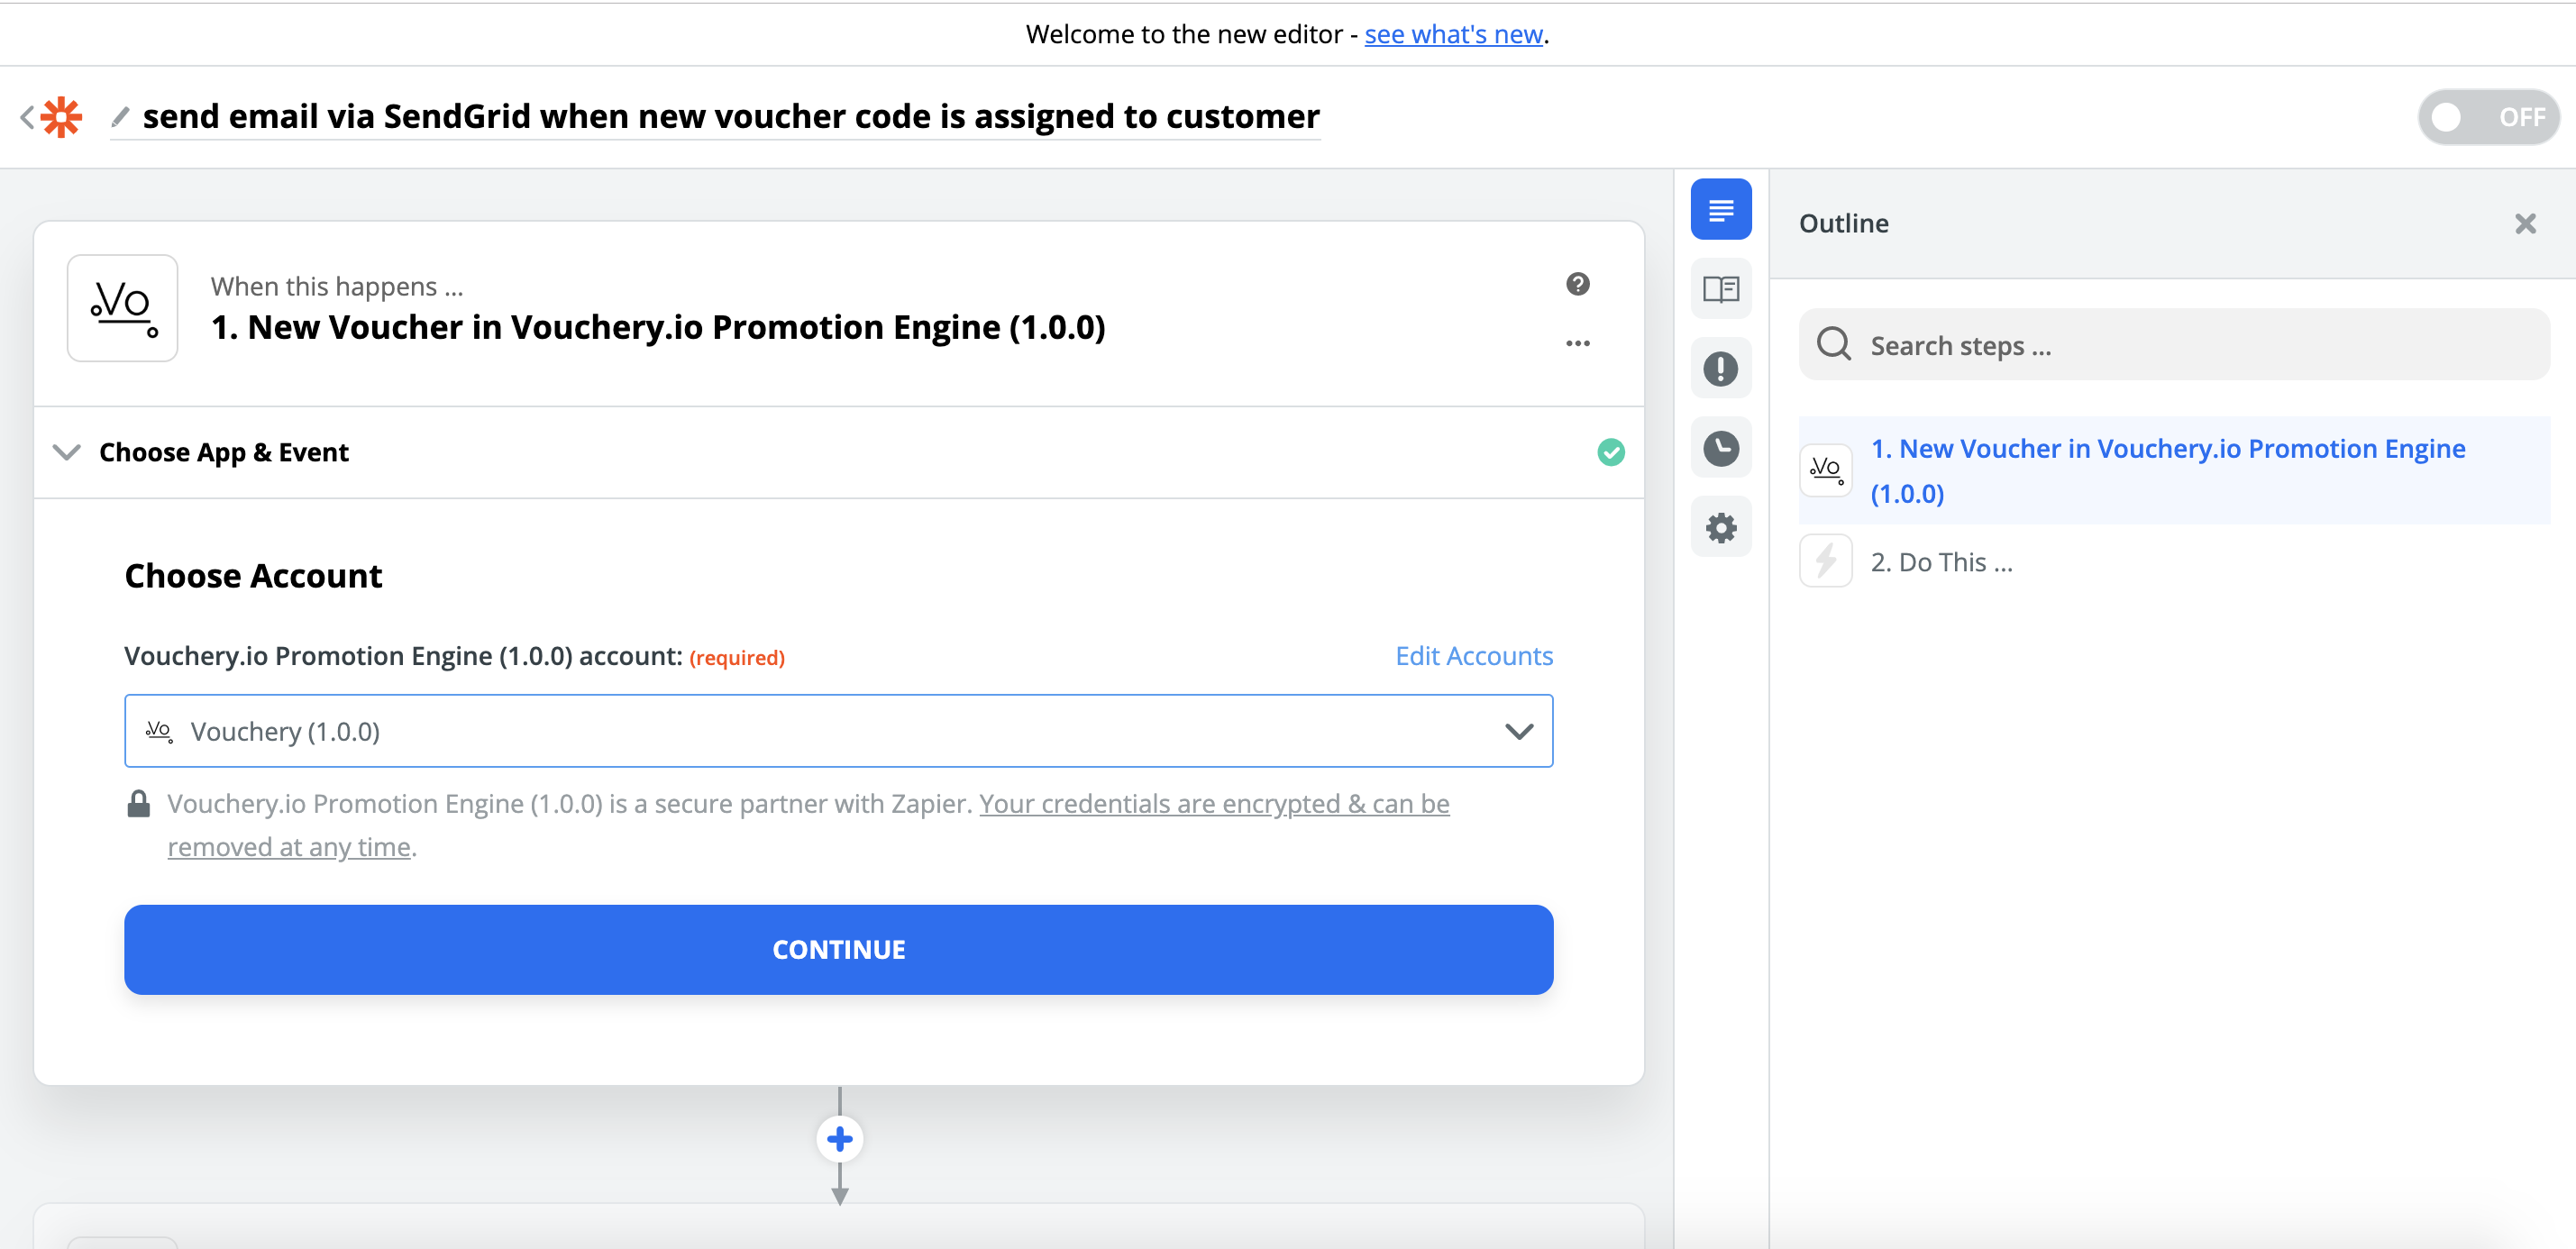
You will see your Vouchery account selected and will be saved for later use in the drop down list.
To proceed click Continue.
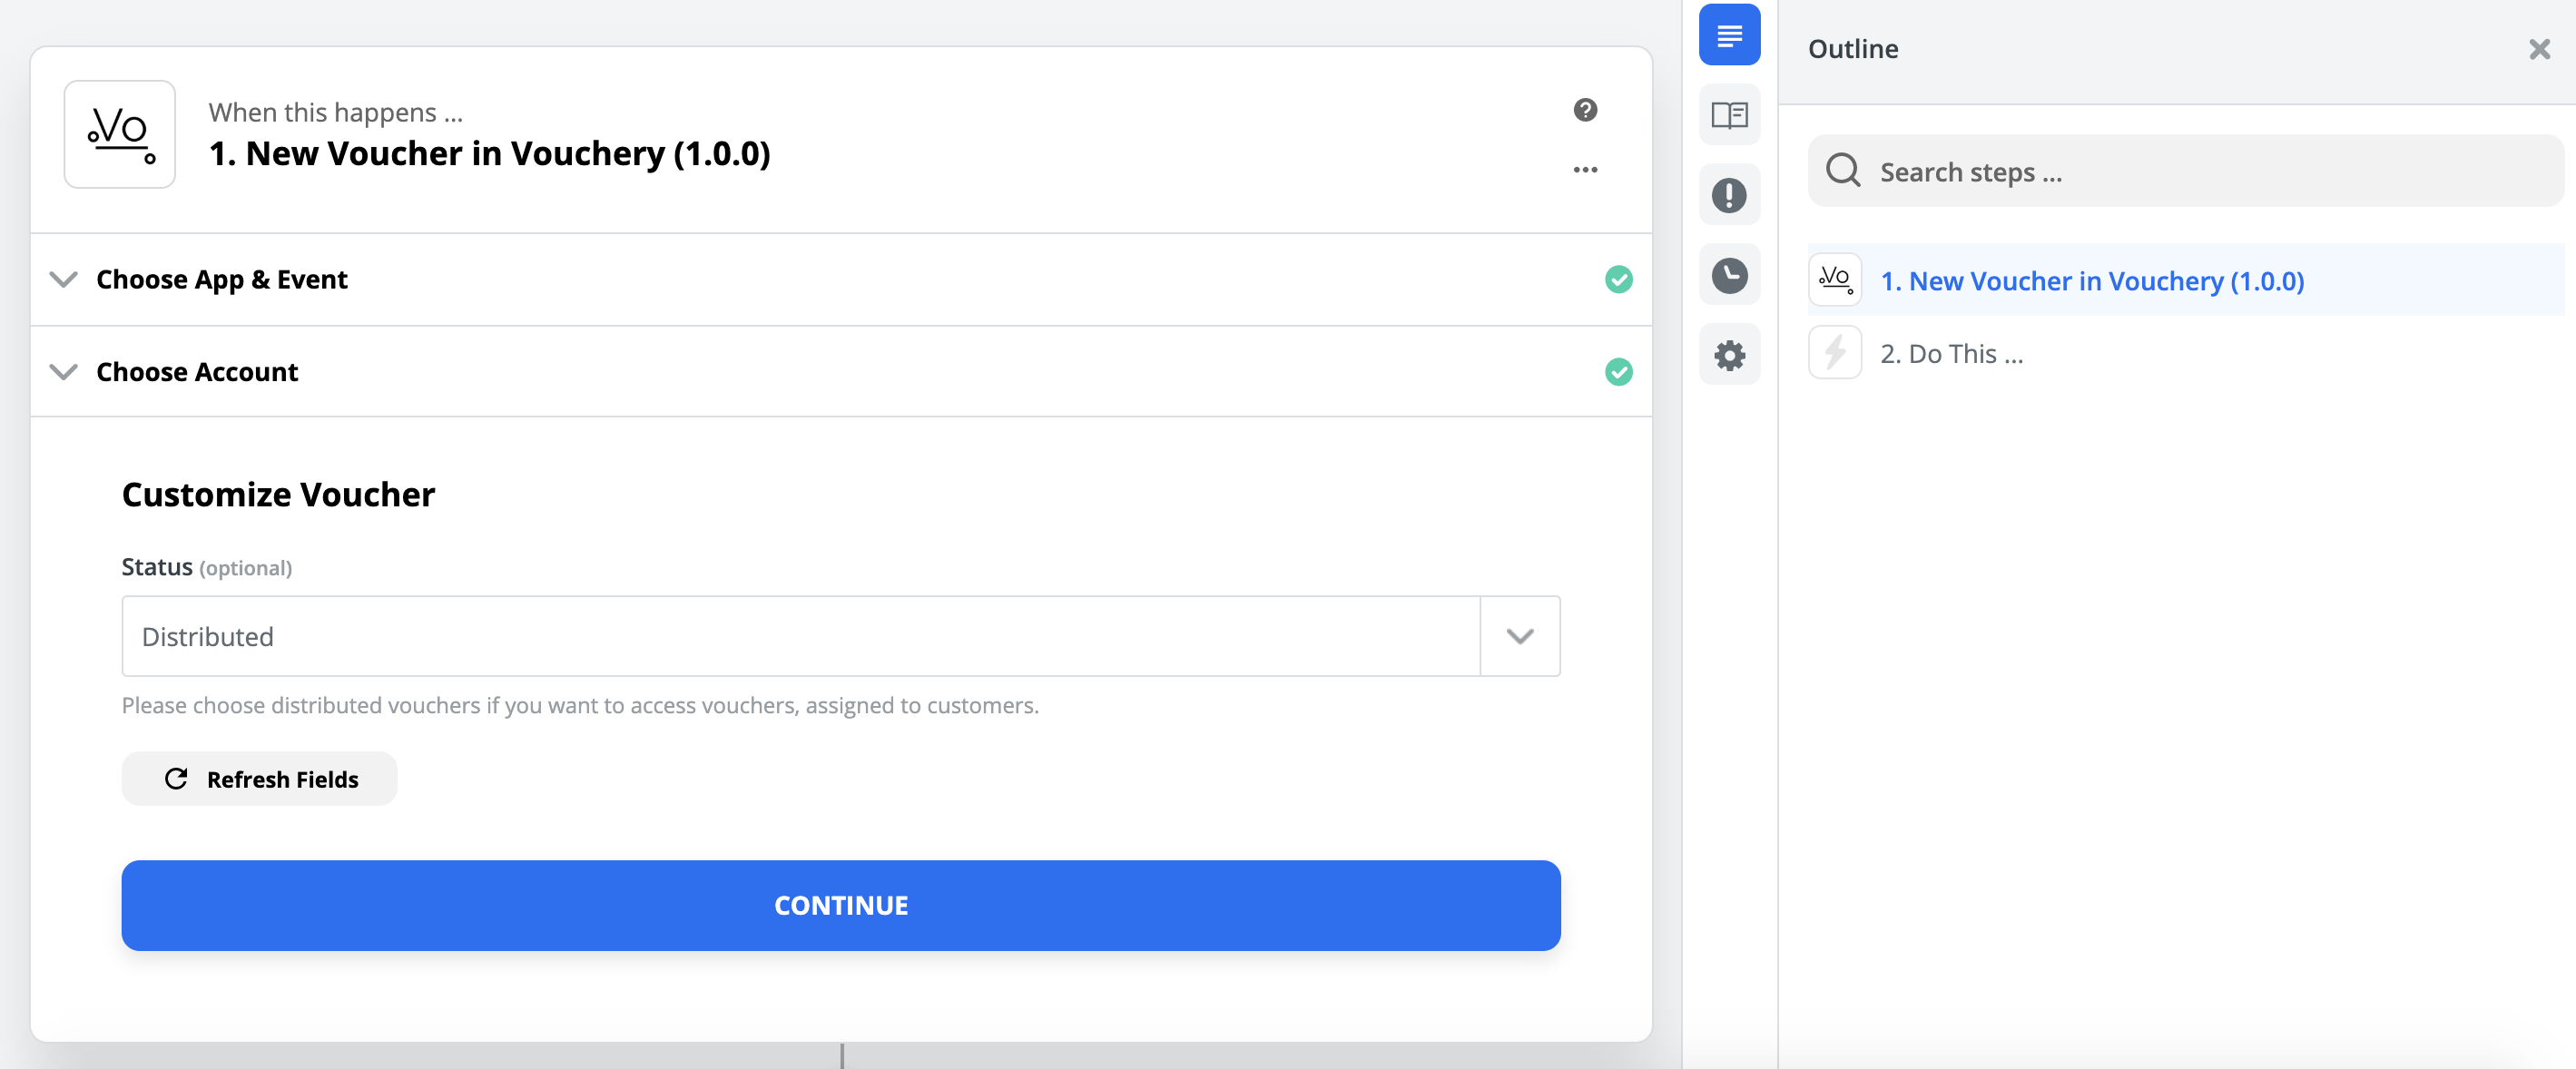
Choose the status of your Voucher as distributed to access the vouchers that has been assigned to customers. Then click Continue.
Click Test & Continue to make sure the trigger works. Wait for the success message before proceeding to the next step.
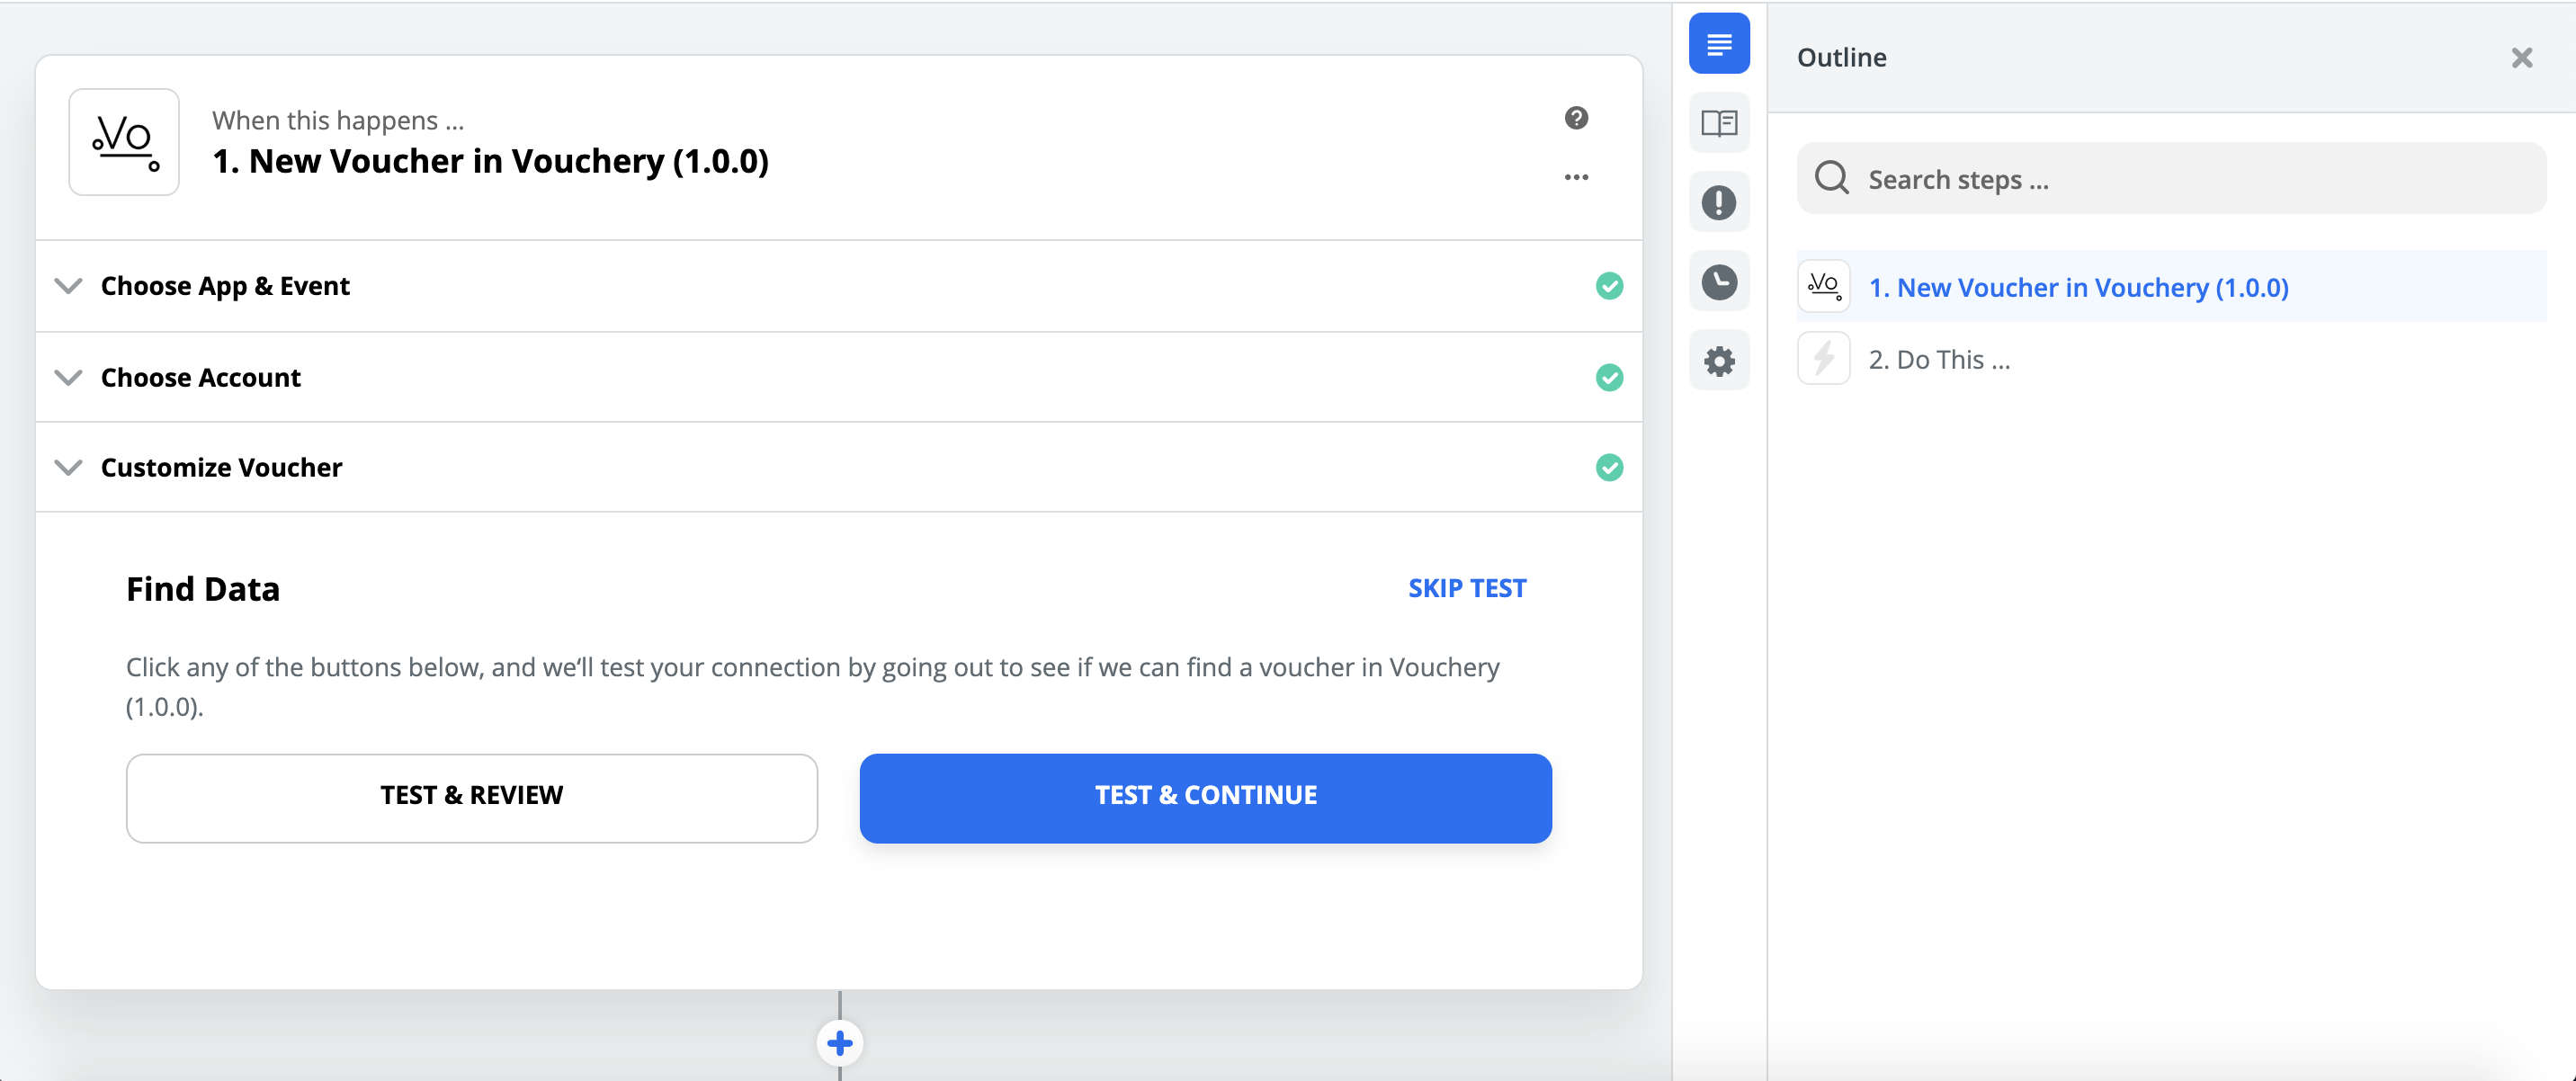
Now we have successfully set up the trigger and will be directed to the action part.
Step 2. Set up the action
In our example, we will choose the SendGrid app and send email to customers as an action event.
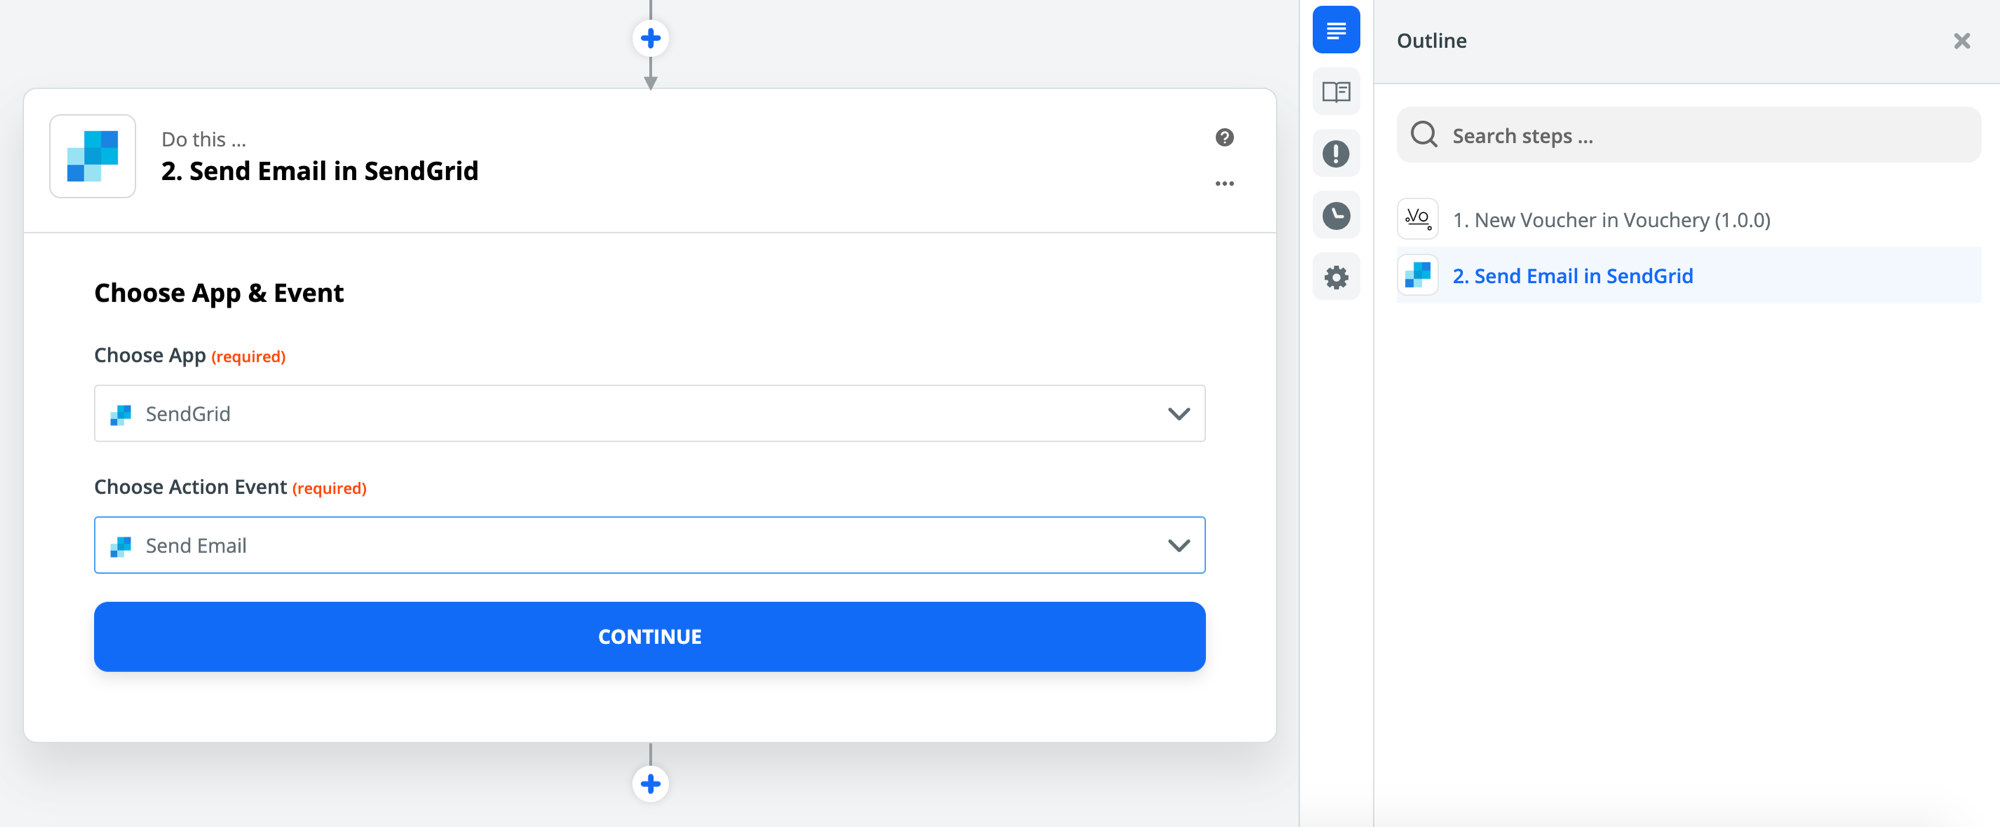
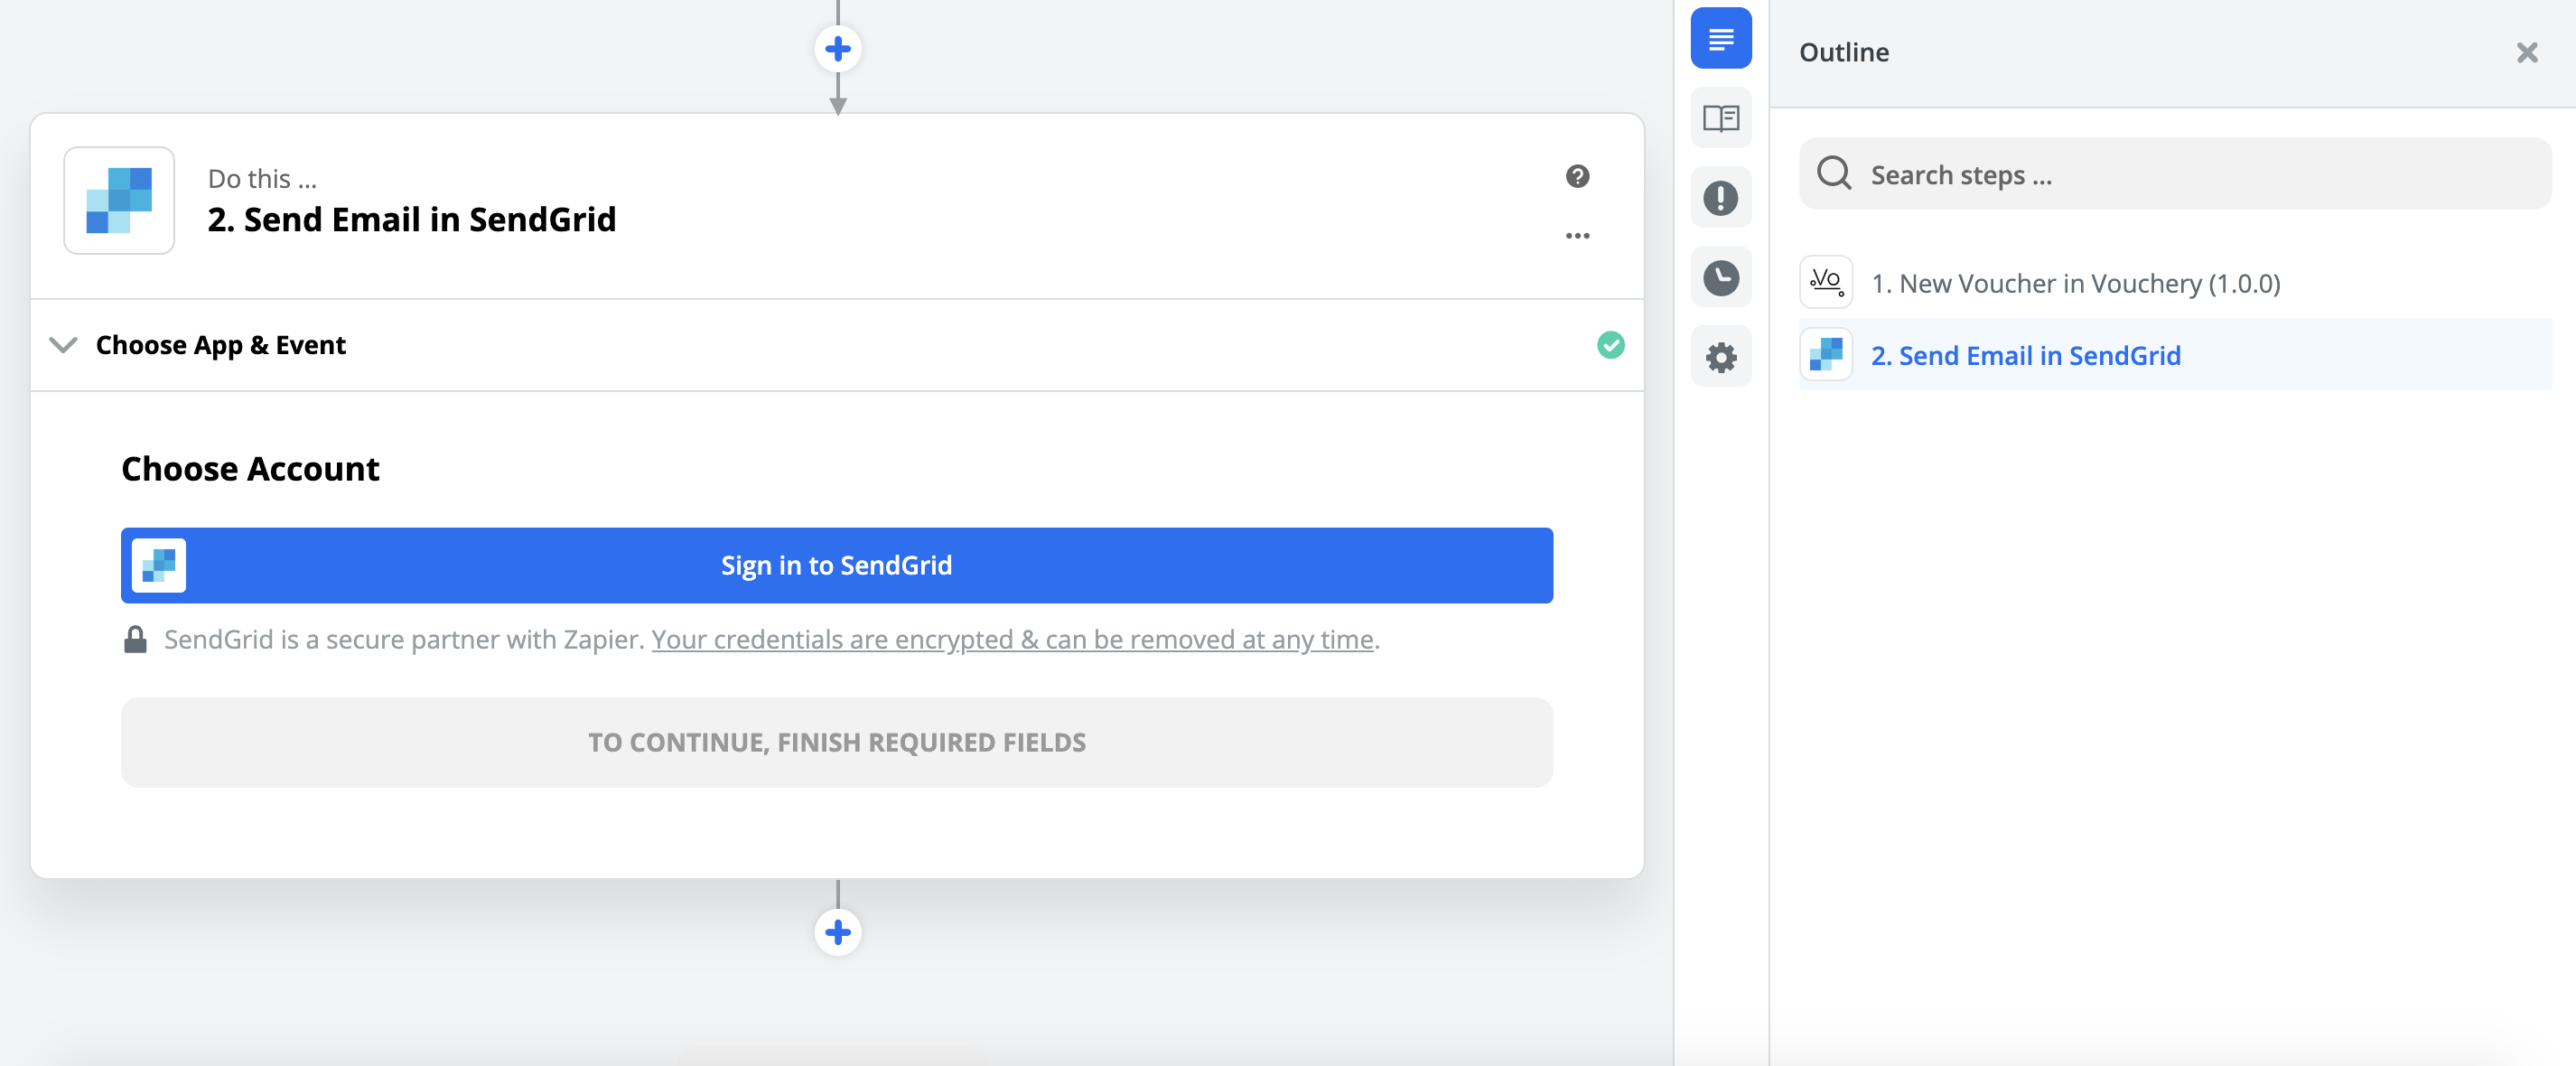
Sign in to SendGrid account if you haven't before or select your previous account.
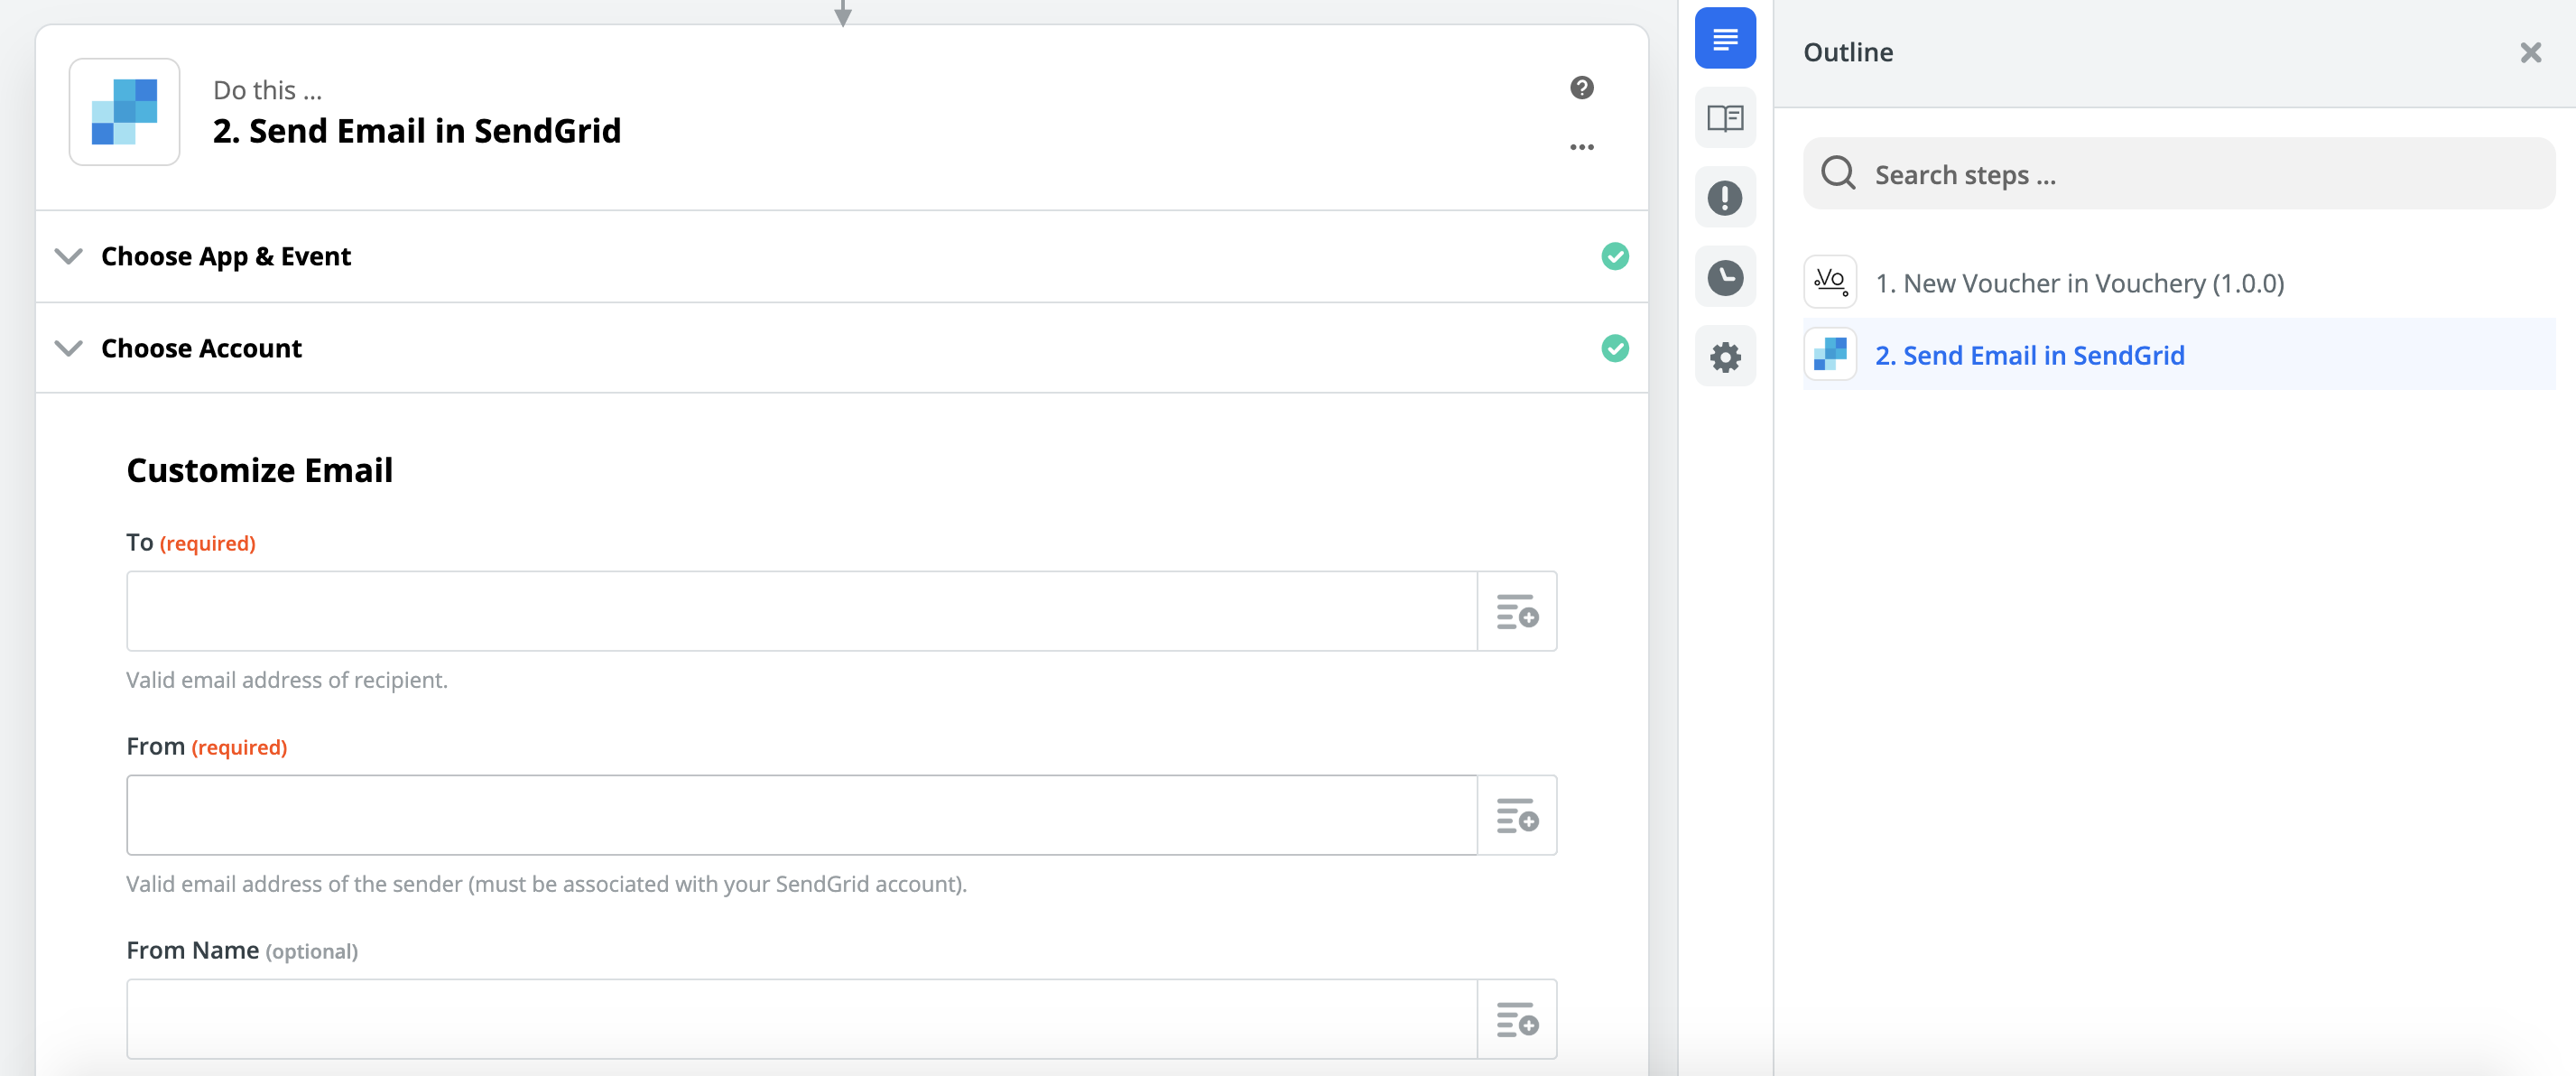
Now customize the email then click Continue.
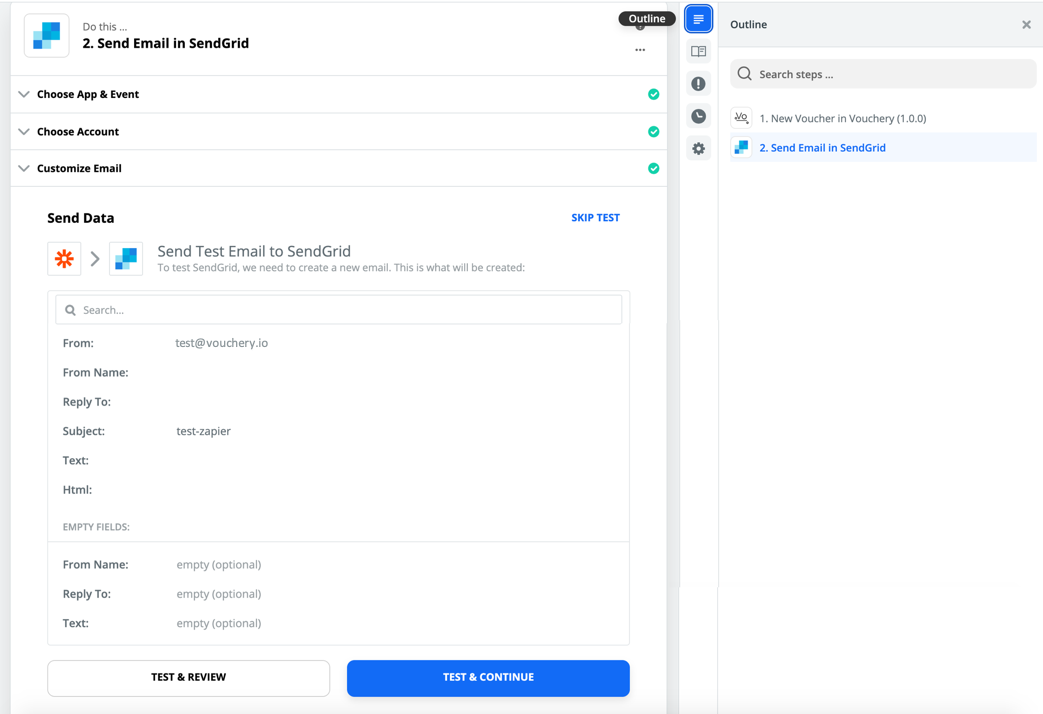
Click Test & Continue button to make sure this step works as intended.
Congratulations! your Zap is now ready to go, turn on the zap and start using it.
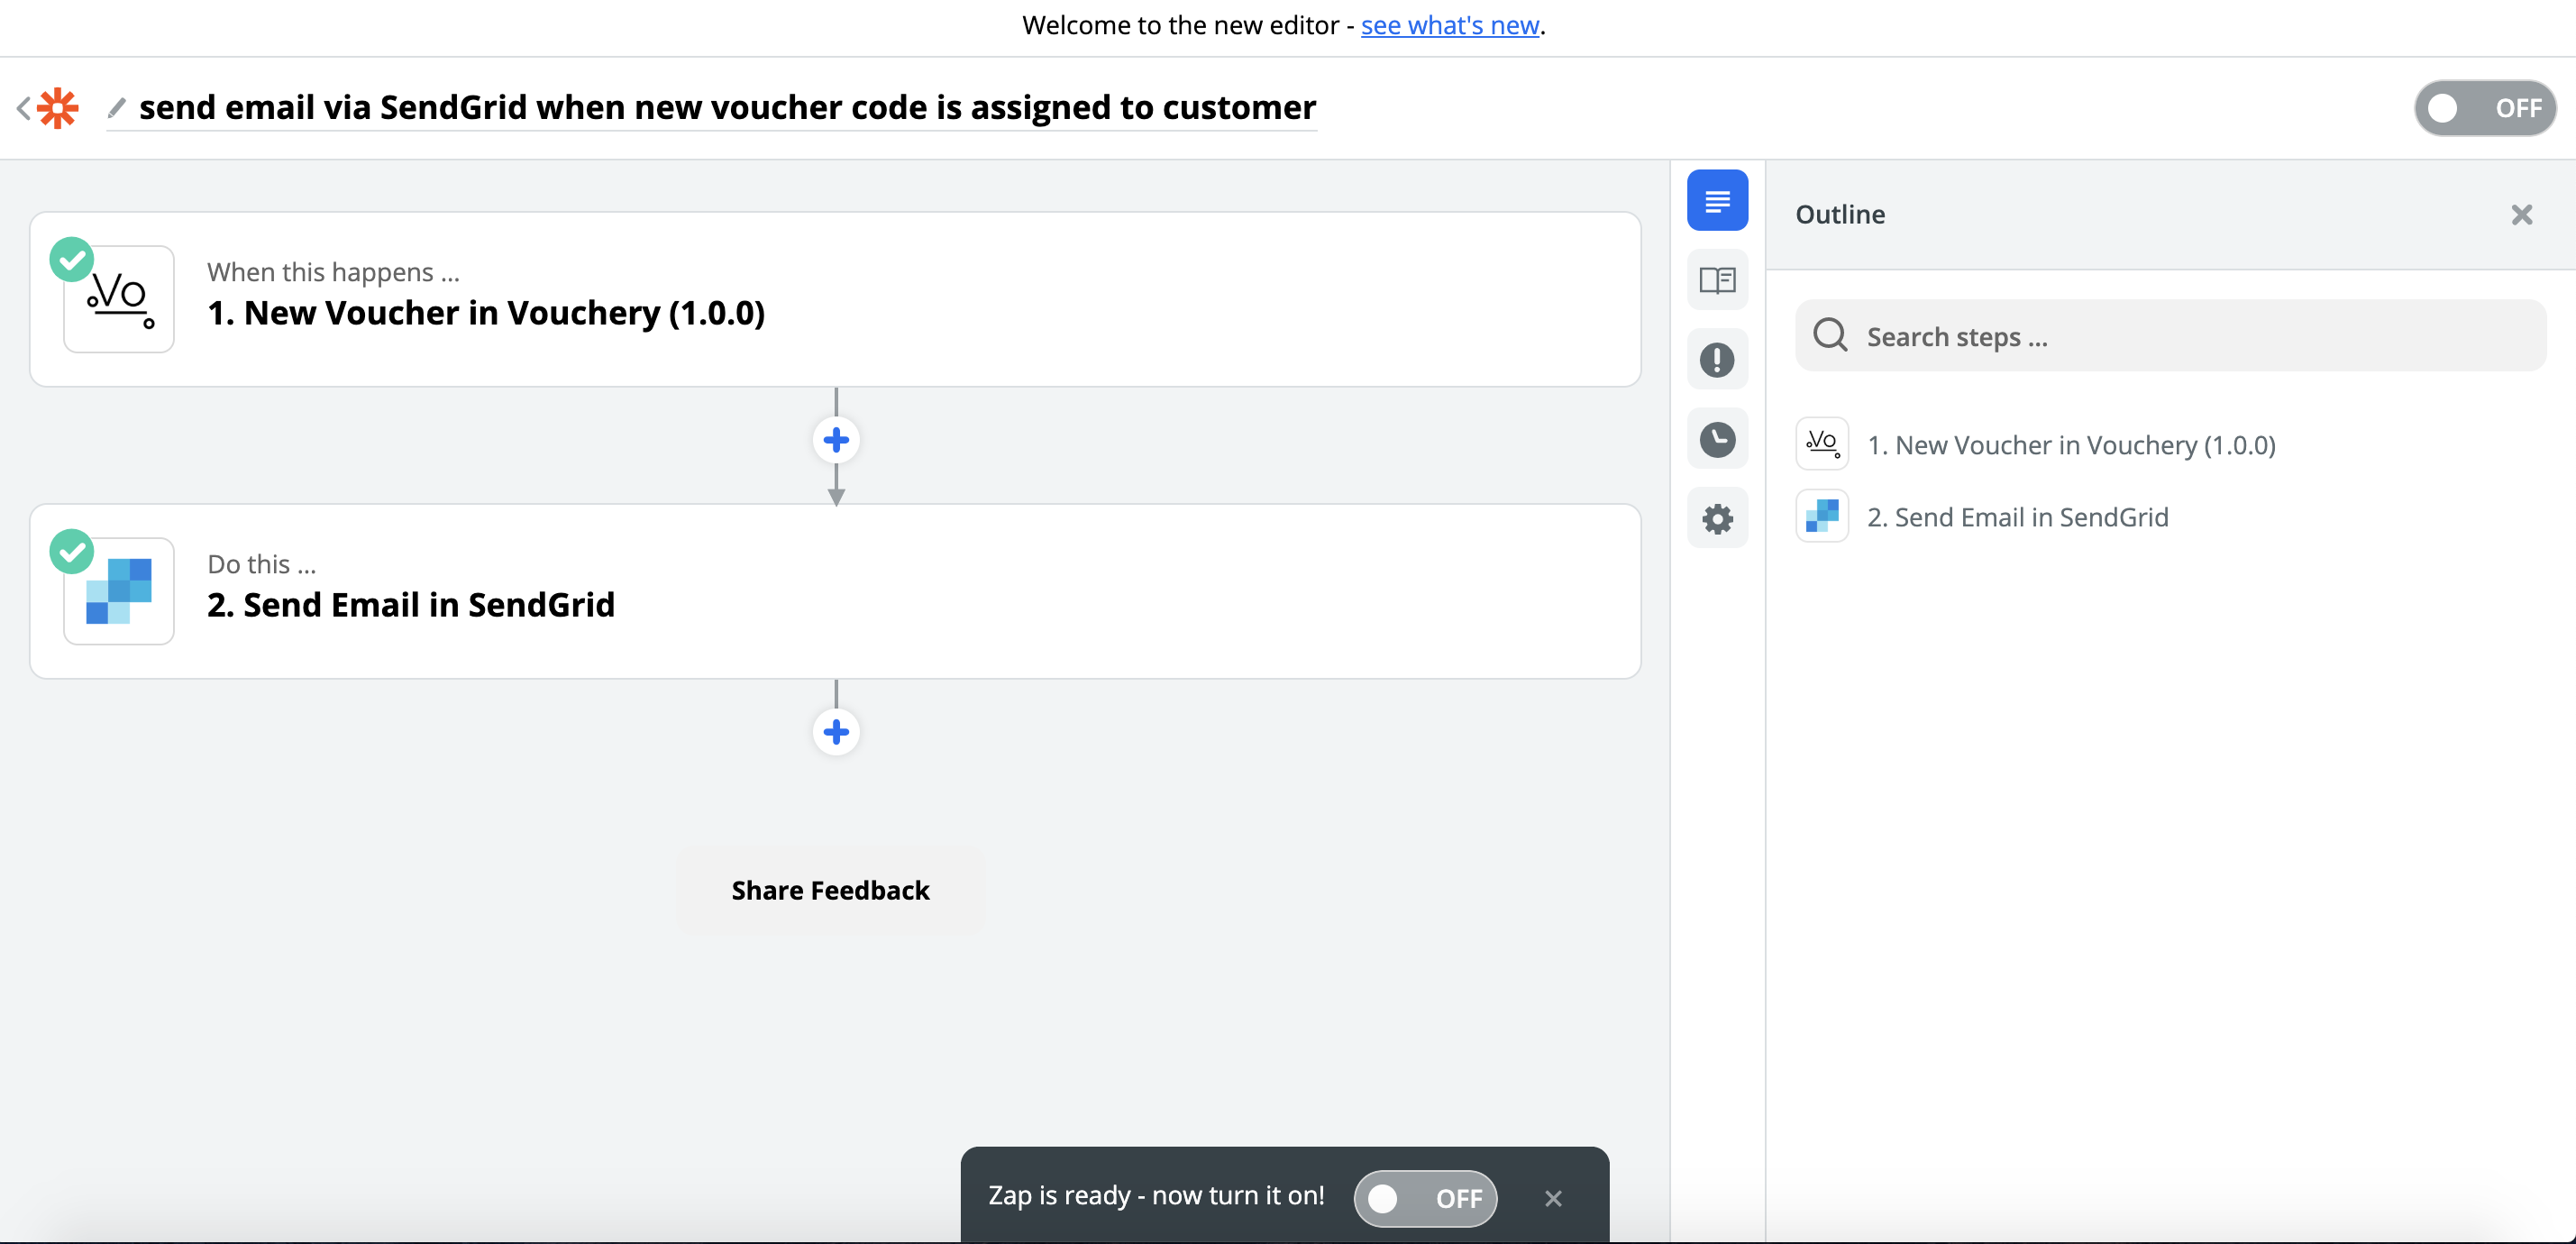
You can always come back to your Zap at any time to edit or change specific details. You'll find all of your Zaps on your My Zaps tab.
Updated about 6 years ago
